6.9 Nails: Inspection and Palpation
Inspection and palpation of nails can be accomplished with the client in a sitting upright position or lying supine. Nail polish or artificial nails must be removed to fully assess the nails. You will need to decide if a full nail assessment is warranted depending on the nature of the visit, the reason for seeking care, and the client’s status. If appropriate, remind the client to arrive without nail polish or artificial nails before their appointment.
Steps for nail inspection and palpation include:
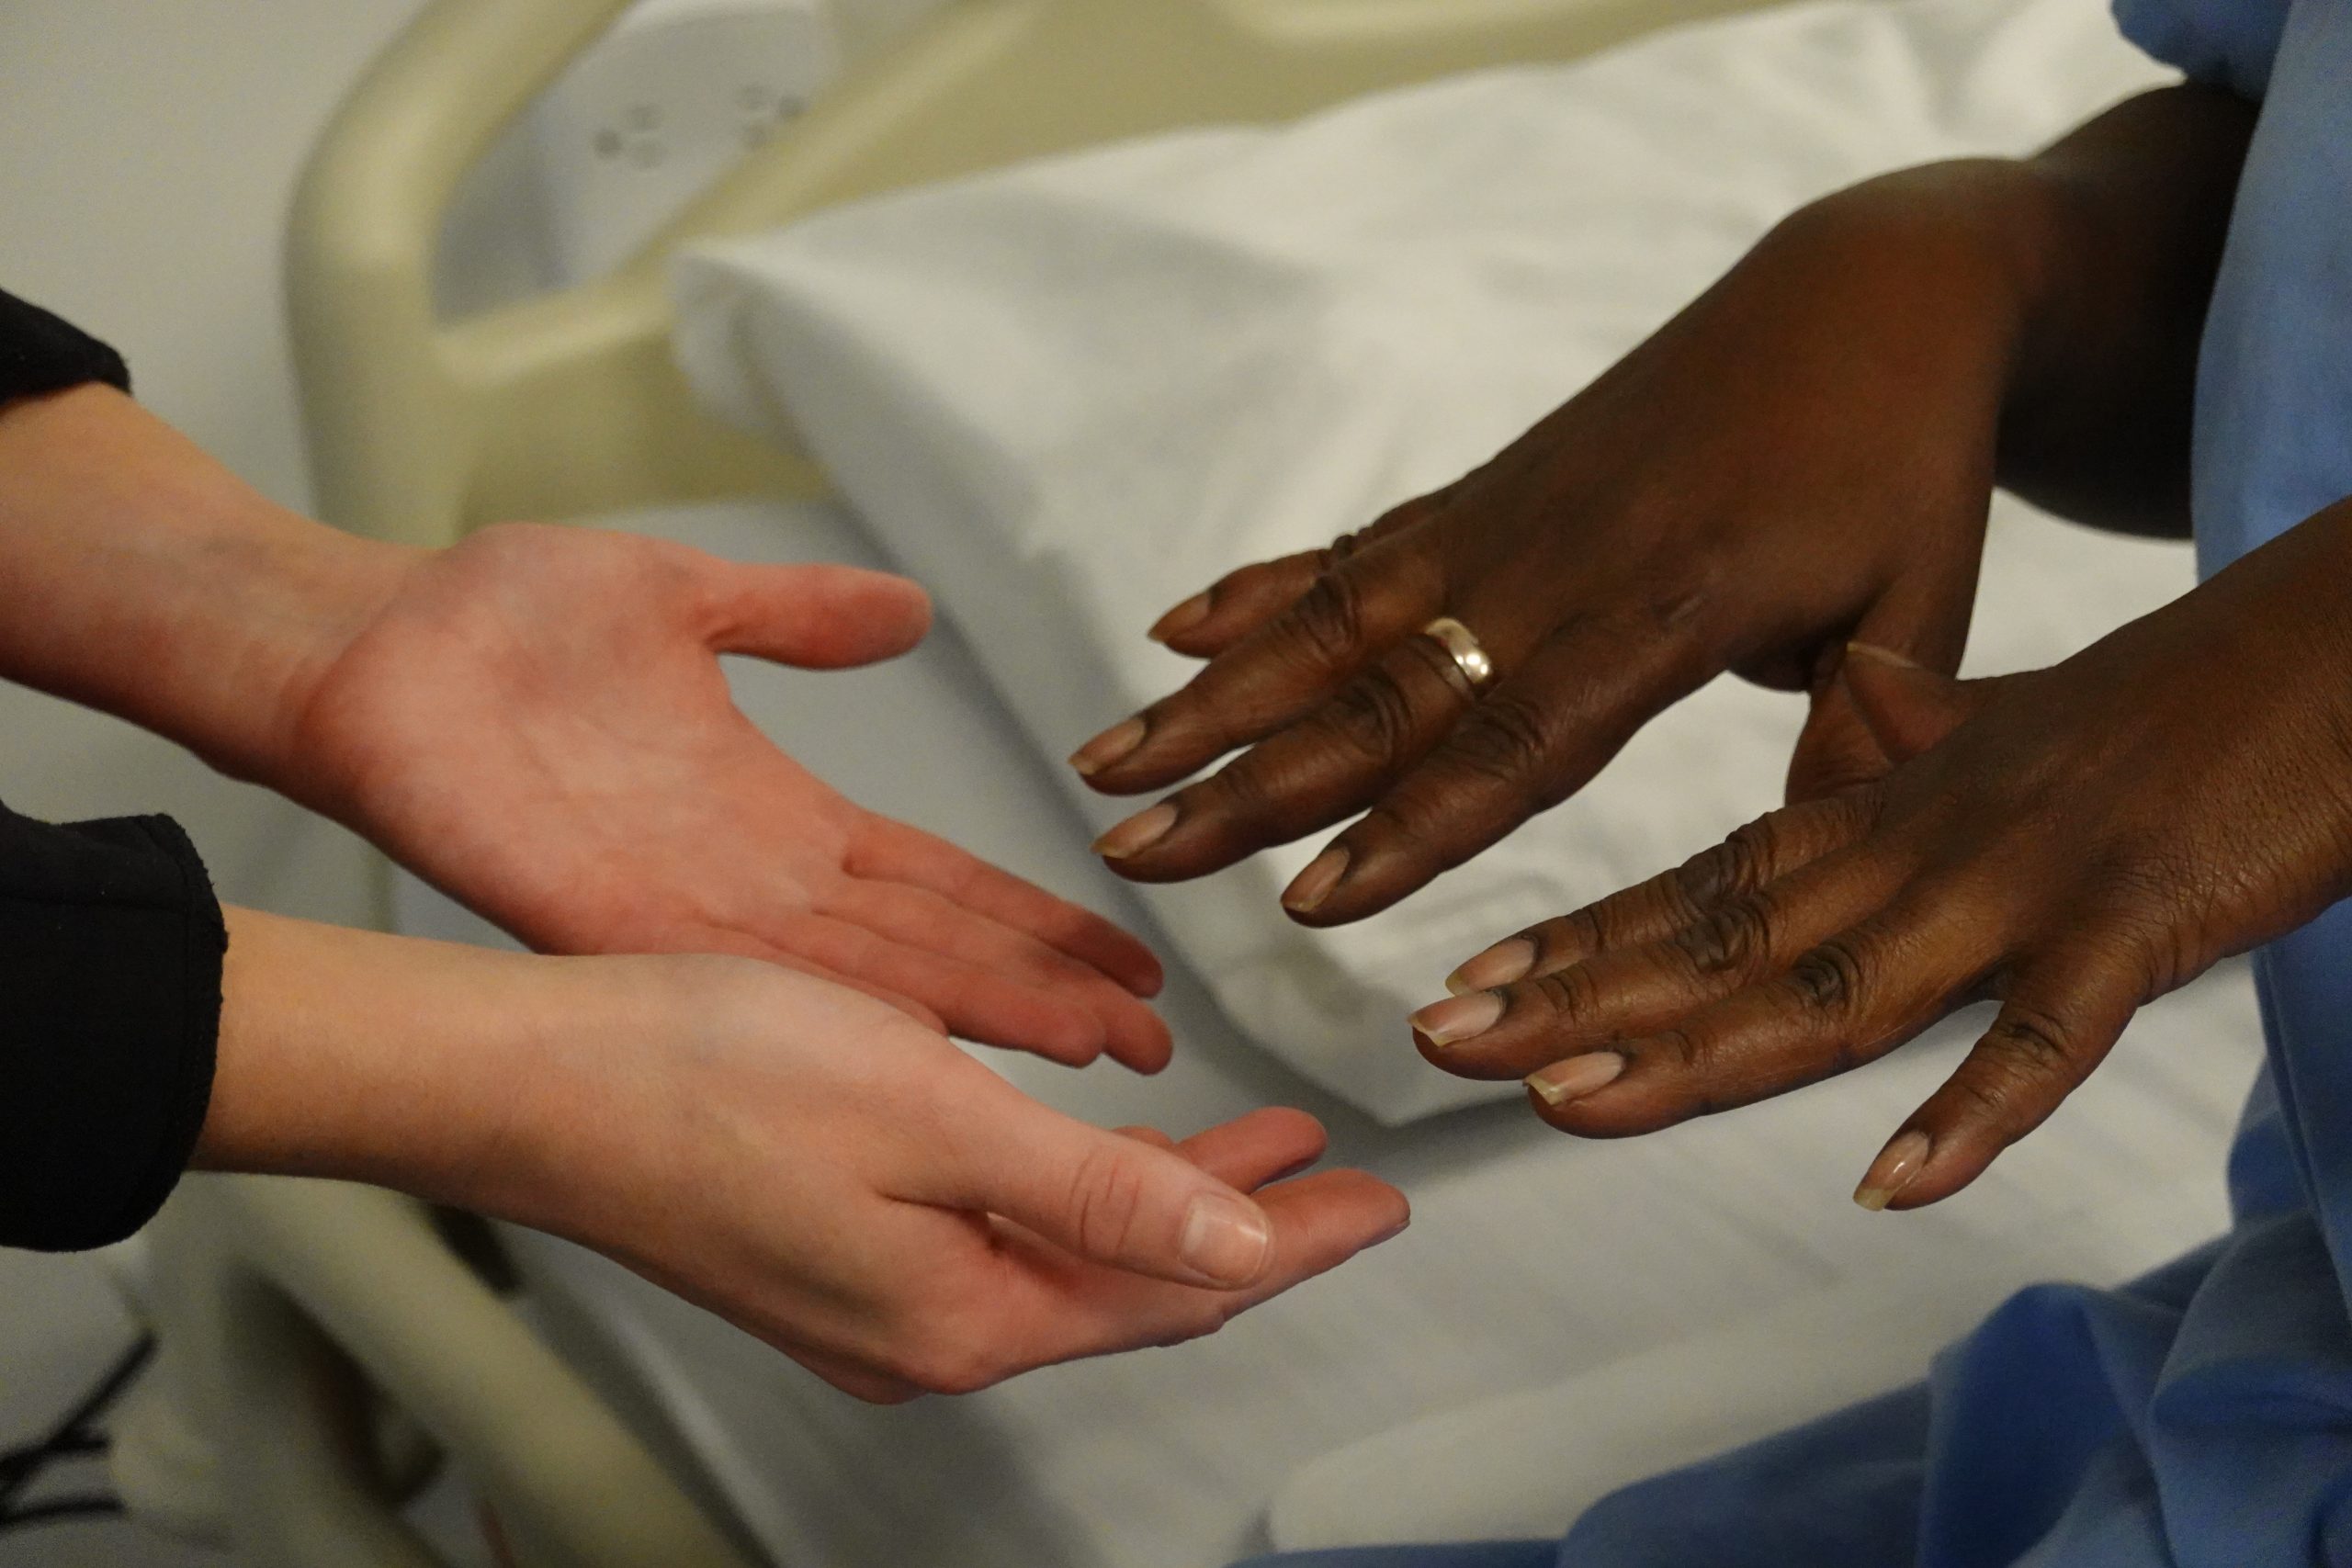
- Inspect the nail symmetry, condition, and nail color by asking the client to hold their hands out in front of them (Figure 6.10).

-
- Normally, the ends of the nails are smooth and nails are clean. A client’s job may influence nail cleanliness. Nails are translucent in color and have a slight pinkish tone.
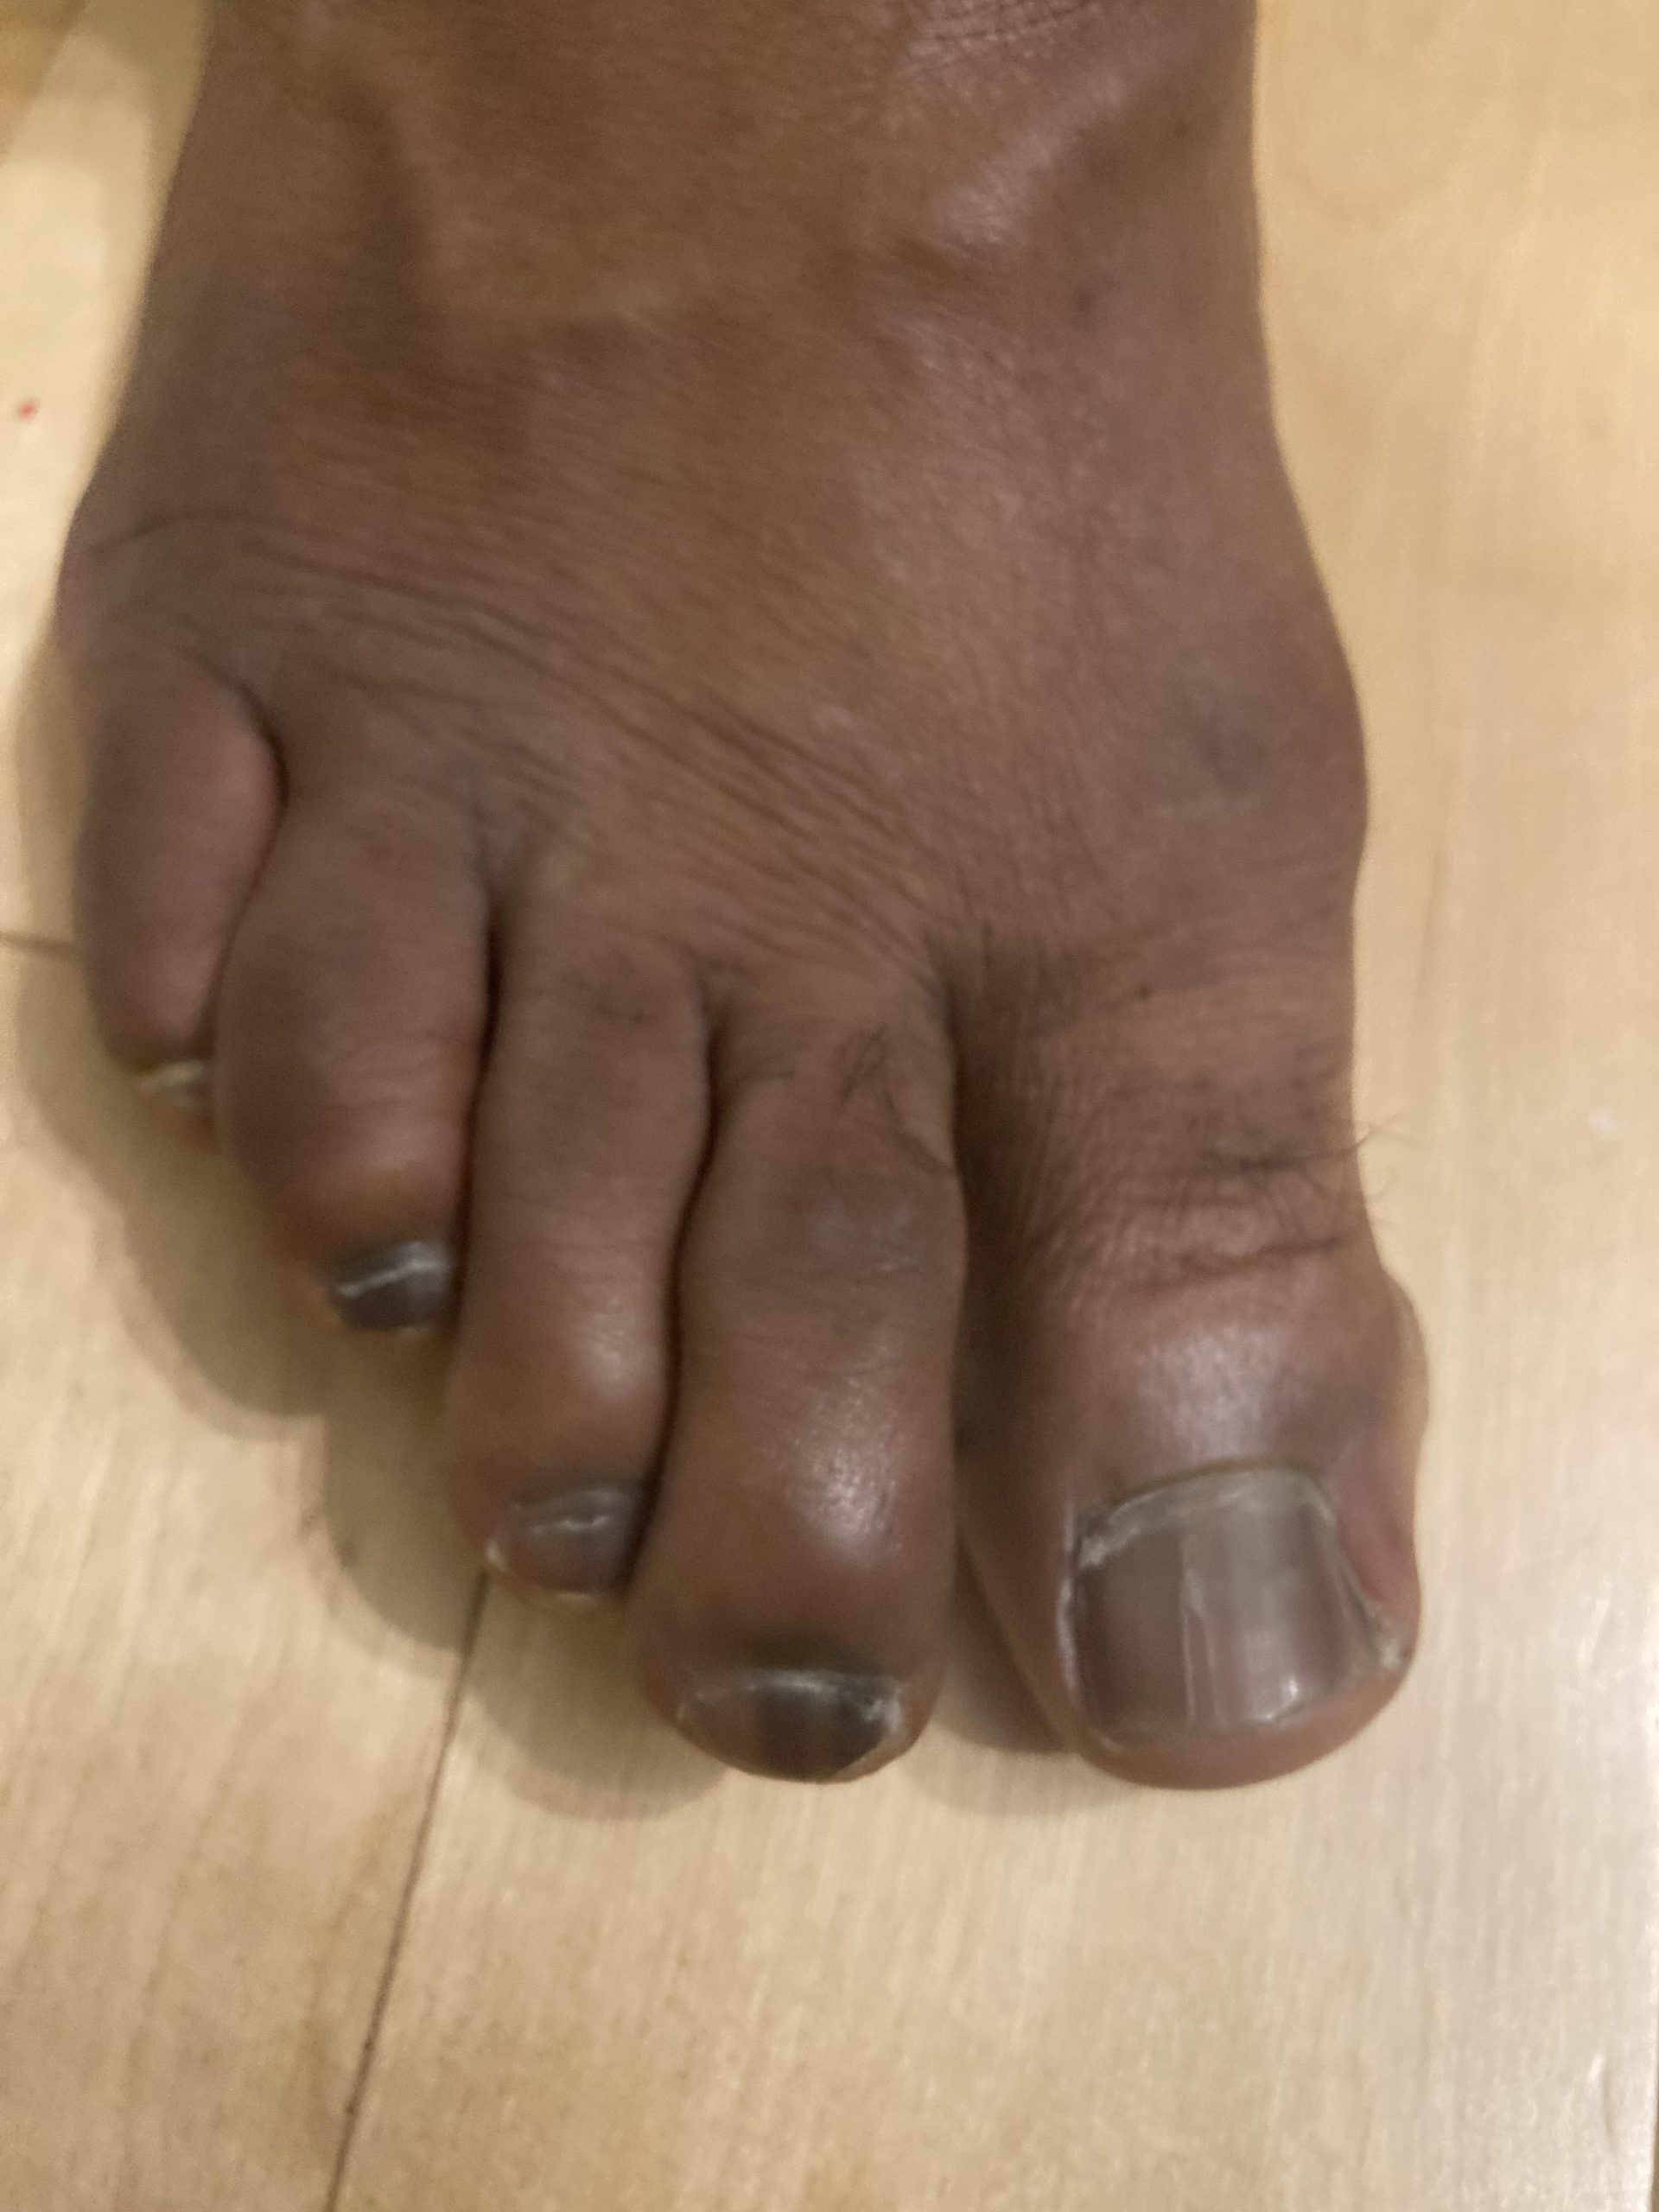
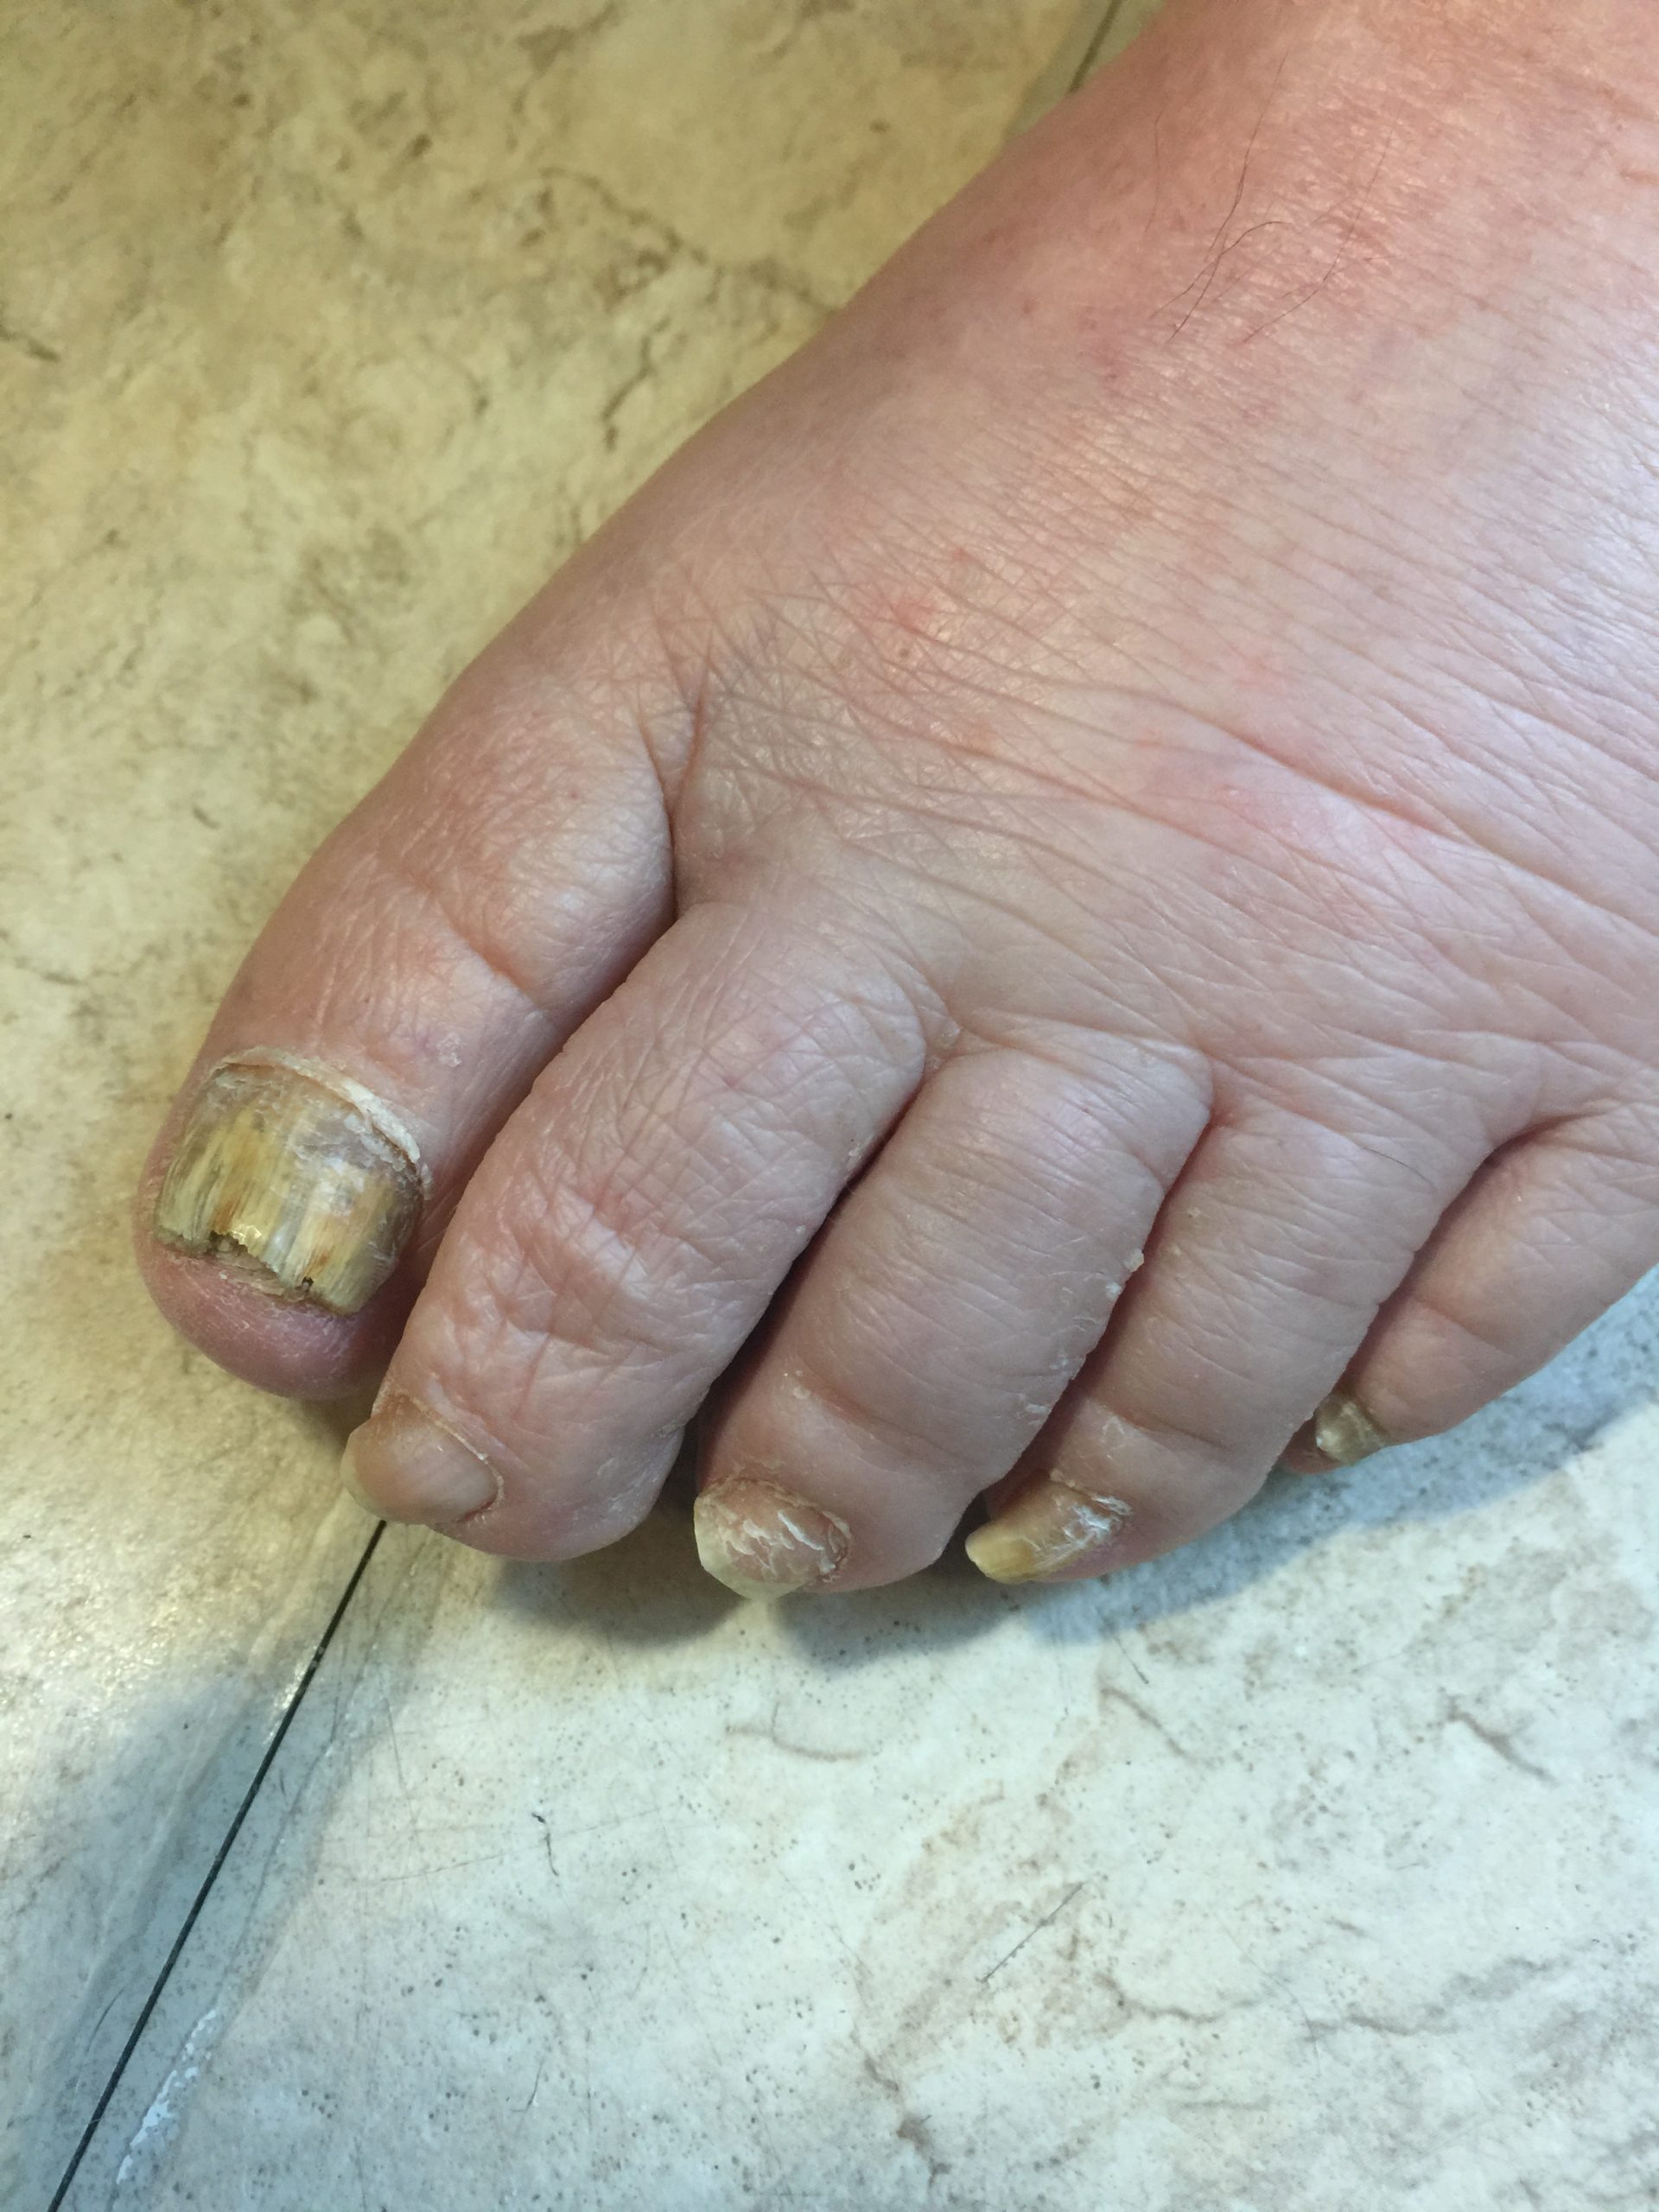
- Abnormal findings may include ridges, pitting, brittleness, indentations, and discolorations. If you note any abnormal nail condition or discoloration, describe the appearance and location, e.g., white markings at the base of the nail on the left index finger. Table 6.9 lists some nail variations that you may observe. Yellowing or darkening of the nails is a common discoloration associated with nail fungus (see Figure 6.11)
Clinical Tip
Landmark digits (fingers and toes) appropriately. Many institutions have a body diagram to landmark anatomy. Check with your institution for specific nomenclature, which can vary in terms of how digits are referenced. Sometimes the thumb as referred to as Digit 1, index finger as Digit 2, middle finger as Digit 3, ring finger as Digit 4, and little finger as Digit 5. If you are uncertain about how to reference a specific digit, landmark as descriptively as possible (e.g., middle finger left hand, 2nd medial toe right foot).
|
Color Variation |
Description |
|
White |
Loss of pigmentation (pinkness) and whitening of the nail bed can be the result of lack of perfusion related to illnesses like diabetes and liver disease. |
|
Blue |
Blue hue of the nail bed can be an indication of hypoxia. |
|
Yellow |
Yellowing of the nails can be a sign of chronic lung disease or lymphedema: over time, the nails thicken and become yellow due to lack of drainage of lymph fluid under the nail bed. Yellowing can also be a sign of rheumatoid arthritis or fungal infection. Smoking can also discolor the nail and leave yellow nicotine stains. |
|
Red/brown half-moons |
Red half-moons may be a sign of autoimmune disorder. |
|
Blue half-moon |
A blue half-moon is a sign of poisoning (e.g., silver). |
|
Black stripe |
A black stripe that runs down the nail bed can be a sign of melanoma, but also can be benign. |
|
Greenish black |
Bacterial infection under the nail can cause a greenish black appearance (see Figure 6.11). |


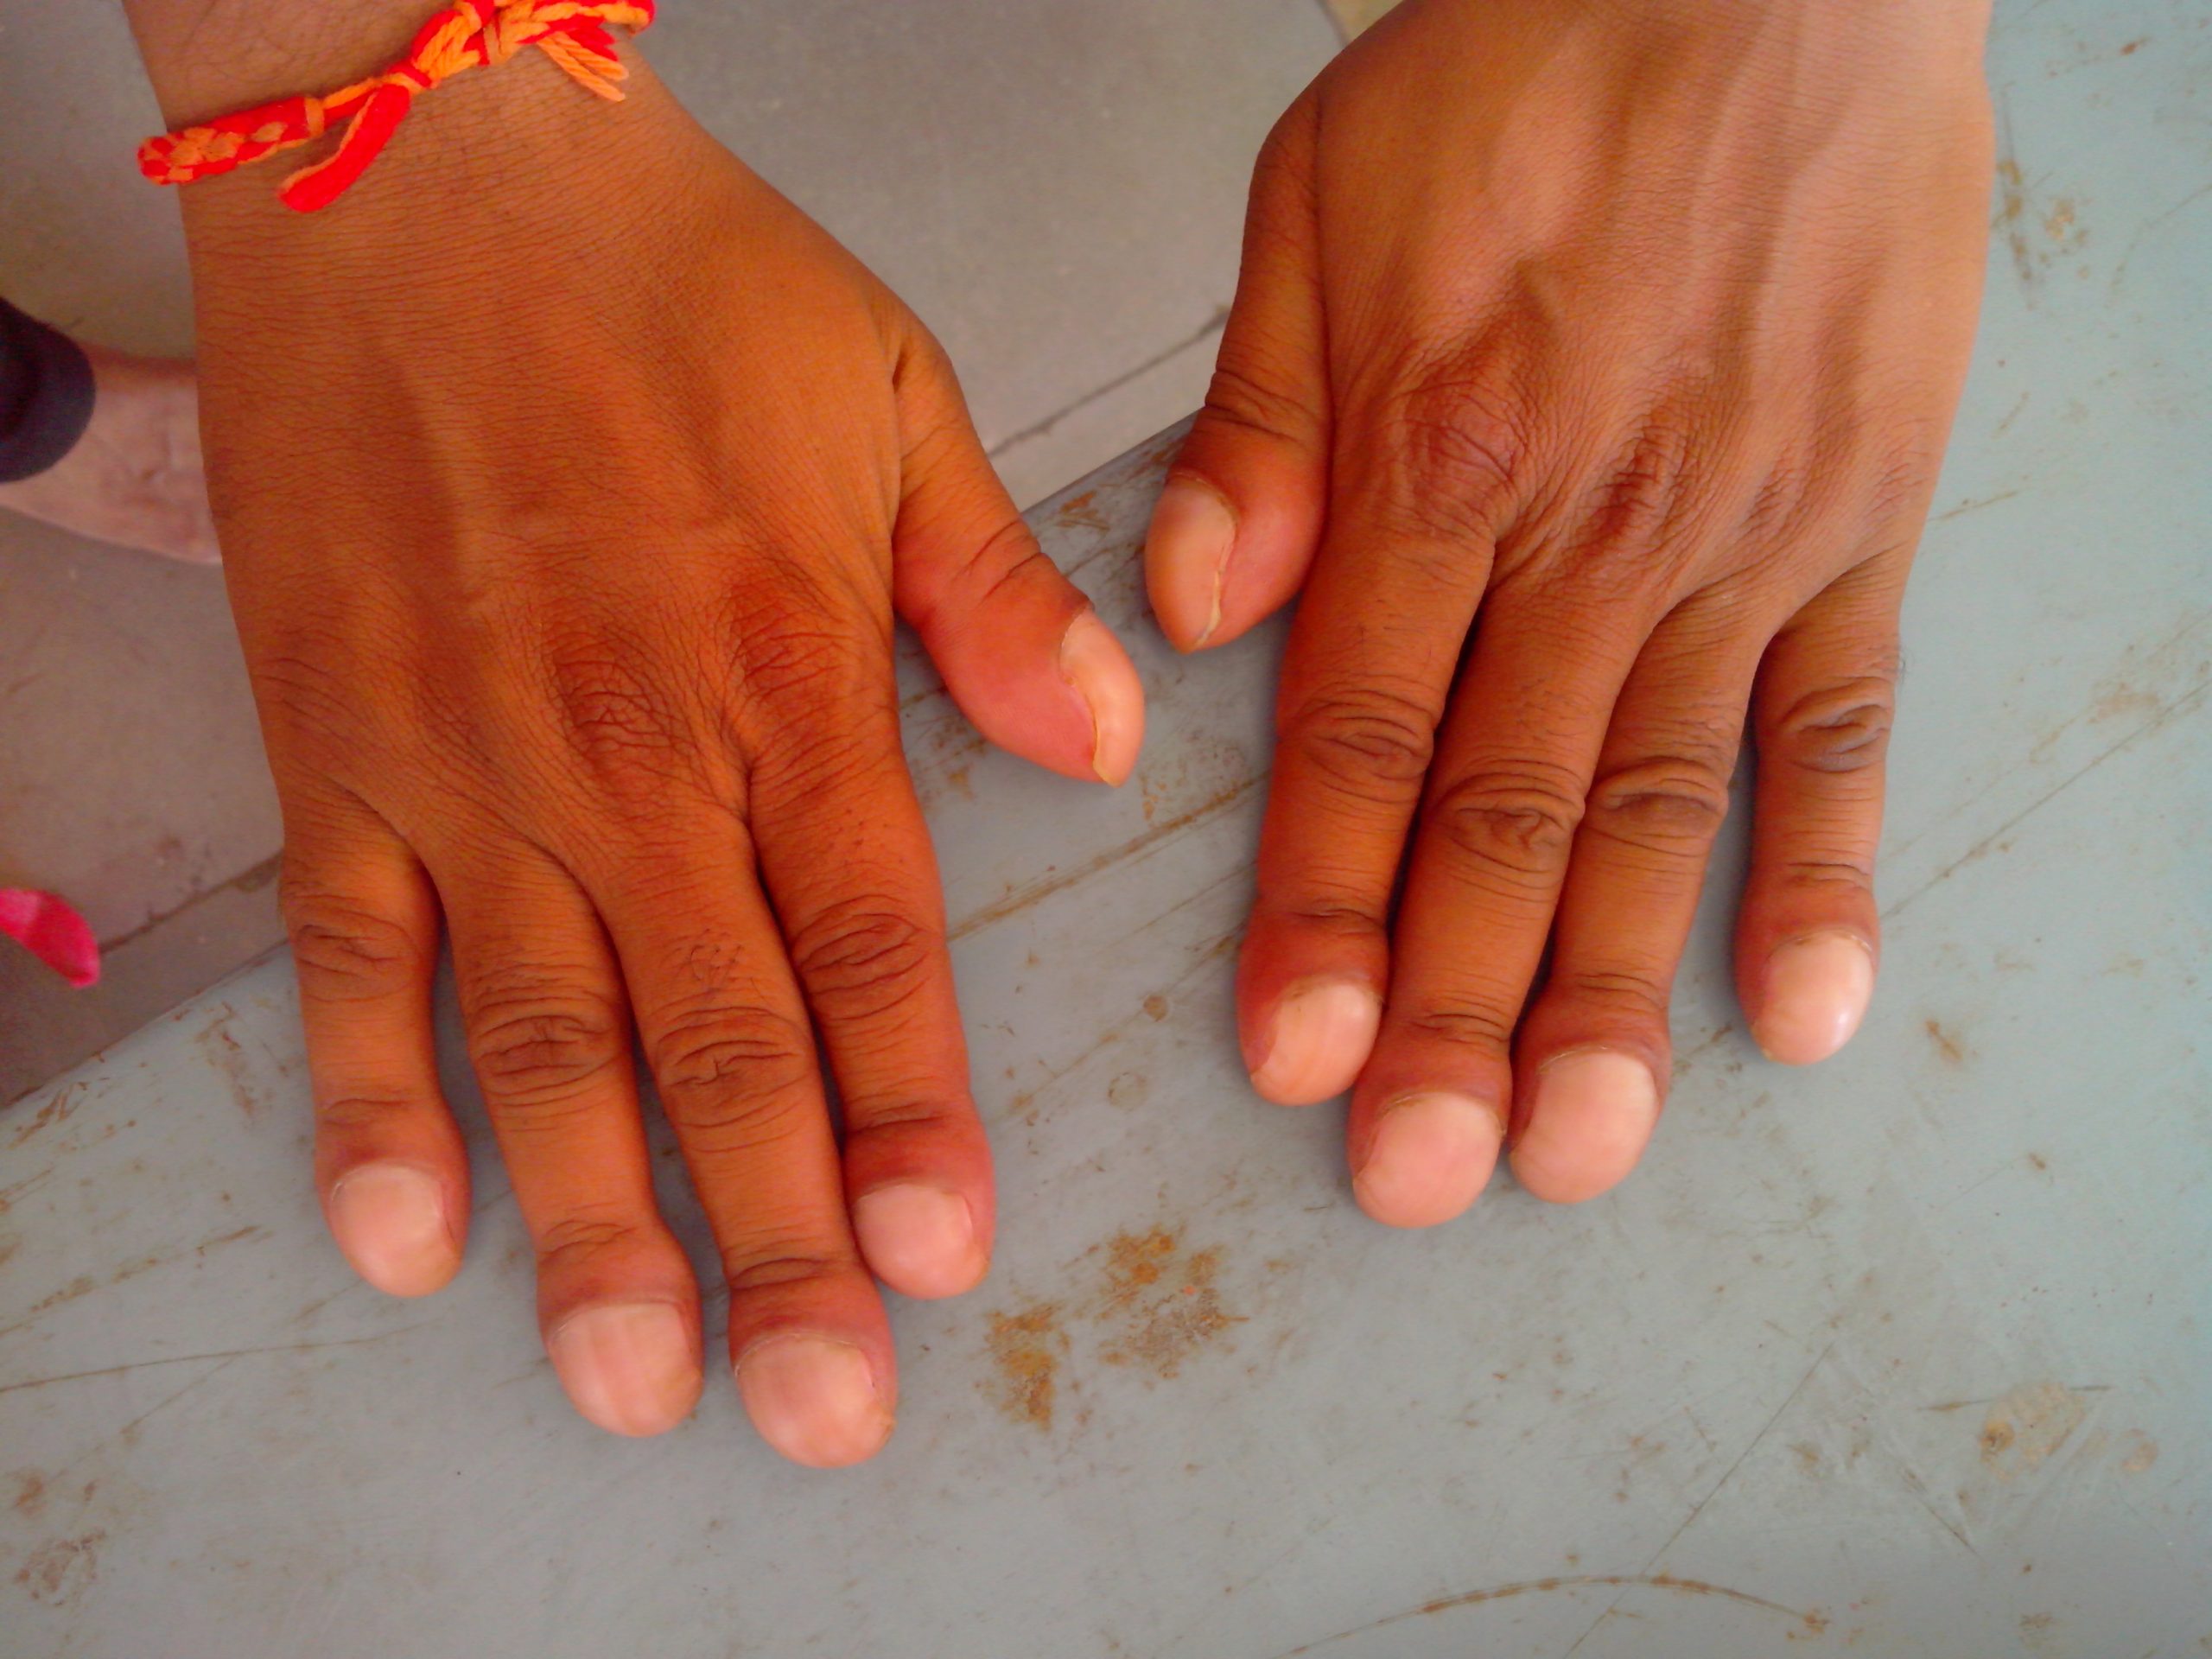
- Assess for the appearance, shape, and presence of clubbing (see Figure 6.12 and Videos 4 and 5). Nails should be slightly curved or flat. Clubbing is related to conditions that lead to chronic hypoxia (e.g., chronic lung diseases, cystic fibrosis, congenital heart disease). Chronic hypoxia can cause the nail angle to flatten to 180 degrees or more, the nail bed to soften and become spongy, and the fingertips distal to the distal interphalangeal joint to become enlarged. Clubbing typically first develops in the thumb and then the forefingers. It is often assessed on the index finger, but in cases of early clubbing it may not have advanced to that digit, so it is best to assess the thumb first. To assess for the presence of clubbing, ask the client to point their thumb out so that it is parallel to the ground and view it at your eye level (this is considered the profile sign). Inspect the nail angle at the intersection of where the nail base meets the skin.
-
- Normally, the nail angle base is about 160 degrees with normal-sized fingertips and nail beds that are firm to touch.
- Clubbing is evident when the angle of the nail base is greater than 180 degrees (flattening of the nail base); fingertips are usually enlarged and bulb-like, and the nail base is spongy/soft upon palpation.

Video 4: Inspection for clubbing on the index finger [0:19]
Video 5: Inspection for clubbing on the thumb [0:18]
- Palpate the nails for texture and consistency using a grasping motion: place the pad of your index finger on the client’s nail and your thumb on the underside of the client’s finger. Palpate the whole nail including the nail bed.
-
- Normally, nails are smooth and firm.
- Describe the appearance and location of thick nails and spongy/soft nails.
- Palpate the nails for capillary refill on two or three fingernails of each hand, at heart level (see Video 6). Start by applying pressure with your own finger to the client’s nail; this causes the nail to blanch (become paler in color). Apply the pressure for 5 seconds and then release and observe the return in color.
-
- A normal finding when assessing capillary refill is color return within 3 seconds or less.
- Color return taking longer than 3 seconds is considered sluggish return for capillary refill (or slow capillary refill time), and this finding suggests possible issues with oxygenated blood perfusion (this may be related to peripheral vascular and/or cardiac and/or respiratory issues). Note that capillary refill time can be slower if the client’s hands are cold from being outside or from washing in cold water; ask them to warm their hands to ensure an accurate reading.
- If the patient has nail polish or gel nails, assess capillary refill by pressing on the skin adjacent to the nail bed (the fingertip or toe pad).
- Similar to when dealing with nail polish, use the skin on the toe pad or the side of the toe instead of the nail bed to perform the capillary refill test.
Video 6: Capillary refill [0:45]
- Note the findings.
-
- Normal findings might be documented as: “Nails are smooth, firm, clean with translucent color, and no presence of clubbing. Capillary refill within 2 seconds.”
- Abnormal findings might be documented as: “Nail angle on thumbs is slightly greater than 180 degrees, capillary refill time is 5 seconds.”
Priorities of Care
Nail concerns do not usually require immediate intervention. However, a client with sluggish capillary refill combined with other cues suggesting severely reduced blood flow to the limbs requires additional interventions to re-establish blood flow. For example, if associated with absent or diminished pulses, cool limbs, numbness, cyanosis, or pallor, report these findings to the physician or nurse practitioner.
Some other nail concerns also may need to be addressed promptly. For example, nail laceration, avulsion, and subungual hematoma may require treatment. Bleeding under the nail can cause pressure and pain, and drilling a small hole in the nail can alleviate the pain associated with pressure by allowing the blood to escape the nail bed. With some cases of laceration and avulsion, health care providers may need to remove or glue the nail, or the surrounding skin may need to be stitched in place.

